Preparing Sourdough Bread
This is Part 2 of our Sourdough Challenge, our challenge to make your own sourdough starter and bake your first sourdough loaf, written by our baking expert Christopher Robbins. Today it's time to bake! Here's Christopher's tried and true recipe. See also Part 1: Make Your Own Sourdough Starter to learn how to make a bubbly active starter, and Part 3: Baking Sourdough Bread for Christopher's step-by-step account of his own experience baking sourdough.
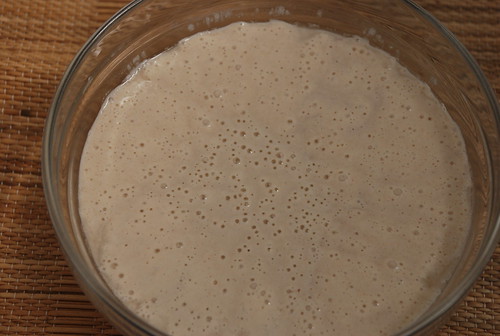
It's been a week since starting the Sourdough starter and by now you should have at least 500ml of creamy bubbly starter. It's time to make a loaf.
Sourdough Bread
Four things to accept before you begin.
First, sourdoughs contain much less yeast than dried-yeast doughs and this means they will take up to 24 hrs to prove (double in size) in a warm room. The dough will also have a beautiful ‘sour’ smell and delicious taste. This slow fermentation is what makes it sourdough bread. It will also have less of the protein fraction of gluten called gliadin, which will mean it is easier to digest, especially for people intolerant of bread (but not coeliacs).
Second, there is nothing precise about the amount of yeast in your starter, or of the amount of flour in the mixture, so the actual volume or weight of starter you add to the flour to make your dough does not have to be measured precisely. There is no point.
Third, because there is less yeast it is important to have a slightly ‘wetter’ dough as the amount of gas produced won’t raise the usually firmer dough’s made for dried yeast breads. It will be so wet, you may at first think there is something wrong. After kneading, if you leave a ball of sourdough on the bench, in 5 mins it will flatten to something looking more like a thick pancake!! A good sourdough has the consistency something between a fruitcake mix and a soft brioche dough….
Fourth, to help the smaller amount of gas produced to raise the bread, a good solid kneading is essential, more than for conventional yeast bread dough. You should knead for about 15-20 minutes and you will note the dough will stretch between your hands to a transparent membrane. This makes the dough much more elastic and hence will hold the small gas bobbles like tiny balloons so the loaf can rise as they expand in the oven. If you have a dough hook and a good mixer, it takes about 7 minutes to knead. But it is worth it!! (Ed: trust him!).
INGREDIENTS
- 1kg strong white flour
- 700-800 ml barely warm water
- 300ml (approx) starter
- 2 tbsp olive oil (optional)
- 1/2 tsp sugar (optional: feed for yeast)
- 2 tsp sea salt (optional, but it does help develop the gluten strength)
METHOD
Add the starter, 400g of the flour, and half the water in a large mixing bowl. Mix with a wooden spoon until lump free. Set aside somewhere barely warm, covered with cling film or a plastic bag, for 2-3 hours until it starts to bubble again.
Add the remainder of the flour slowly, together with most of the remaining water, mixing it in with your hands or the wooden spoon until smooth. It is best to add too little water initially. Because the starter will vary considerable in its consistency (and so it should. It is not made with a precise formula for flour and water at all) the amount of water to add to the 1kg of flour will vary with different batches of starter. It is better to have too firm a dough to which you can add a little more water until it becomes soft enough. Too much water will make the dough too thin and you will have to add more flour to get the right consistency.
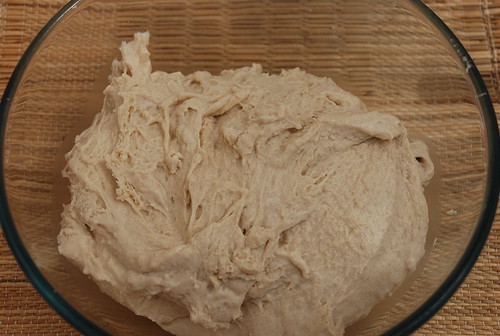
When mixed, turn out onto a lightly floured surface and with floured hands, keep scooping up the edges and folding them in to the centre. As the dough absorbs the second lot of flour, it will get a little firmer and more uniform. Now knead quickly and lightly, keeping the surface floured. (If dough sticks, simply lift it off the surface with a large plastic spatula or flat wooden slice). Knead for 10-20 minutes until the dough becomes elastic and it will have a smoother surface. With either method, knead until the dough will stretch to that thin, transparent membrane (the better for holding the gas in).
You can use the dough hook and mixer to knead if you have one. If not, try a partner. If none are available, just keep up the mantra, “I’ll be fitter and a nicer person…..I’ll be fitter…. etc”)
Then (unless you have proving baskets) cut and shape into loaves to only half-fill well-oiled baking tins. Place the dough, seam side down in tins. Cover with plastic bags and leave somewhere barely warm until not quite double in size. This can take from 12-24 hrs, depending on the activity of your starter and the density of the dough.
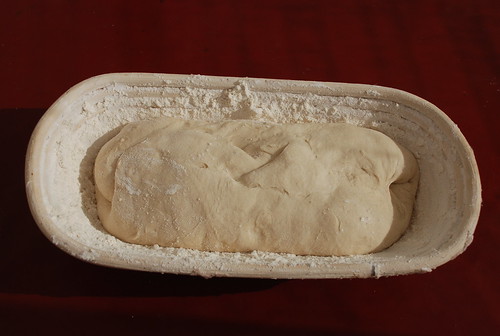
If you have proving baskets, make sure they are liberally floured before dividing your dough into two, carefully shaping the dough to less than half-fill the baskets then place the carefully, seam side uppermost in the basket, and place somewhere barely warm to prove.
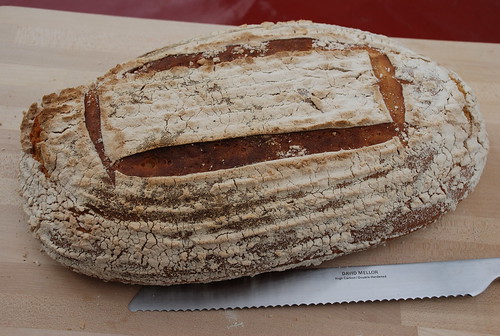
When nearly double in size or your patience has run out, gently slash 2-3 one cm deep cuts in the top of each loaf with a razor or sharp knife, spray surface of the loaves with a mist of water and place in a preheated, HOT oven (gas 7-8 or 220-230C). If using proving baskets, place a baking sheet on top of the basket then, holding the basket carefully to the baking sheet invert it so the basket in on top. Carefully lift the basket off the loaf, which will now be on the baking sheet. Slash the top as with the tin loaves above and place in the preheated oven as above..
Leave baking for 10 minutes then turn heat down to Gas 5 (190C), and leave until golden brown (about 25-40 minutes). Check it is cooked by tipping out of a tin and tapping the bottom with the flick of a finger. A resonant note like tapping a football is perfection; a dead-dull note like tapping a full hot-water bottle and the bread needs to be returned for another 5 mins.
When ready, tip immediately onto cooling racks and be impressed with yourself!!.
Christopher Robbins
See also Part 1: Make Your Own Sourdough Starter to learn how to make a bubbly active starter, and Part 3: Baking Sourdough Bread for Christopher's step-by-step account of his own experience baking sourdough.
Related articles
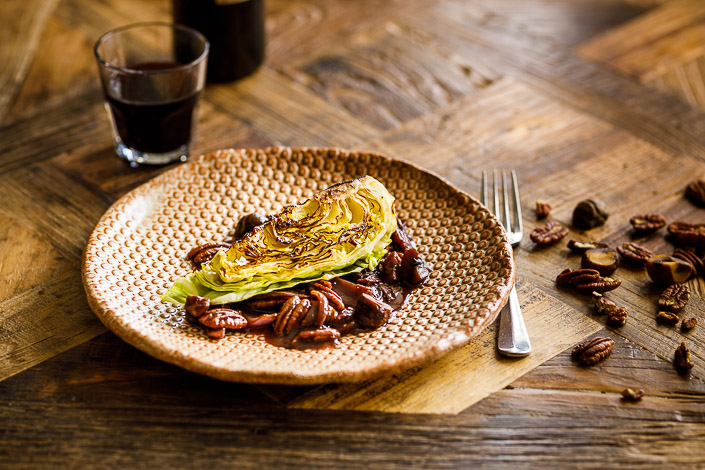
Hipsi cabbage is a pointed green cabbage also known as sweetheart cabbage. Charring brings out the sweetness of this cabbage
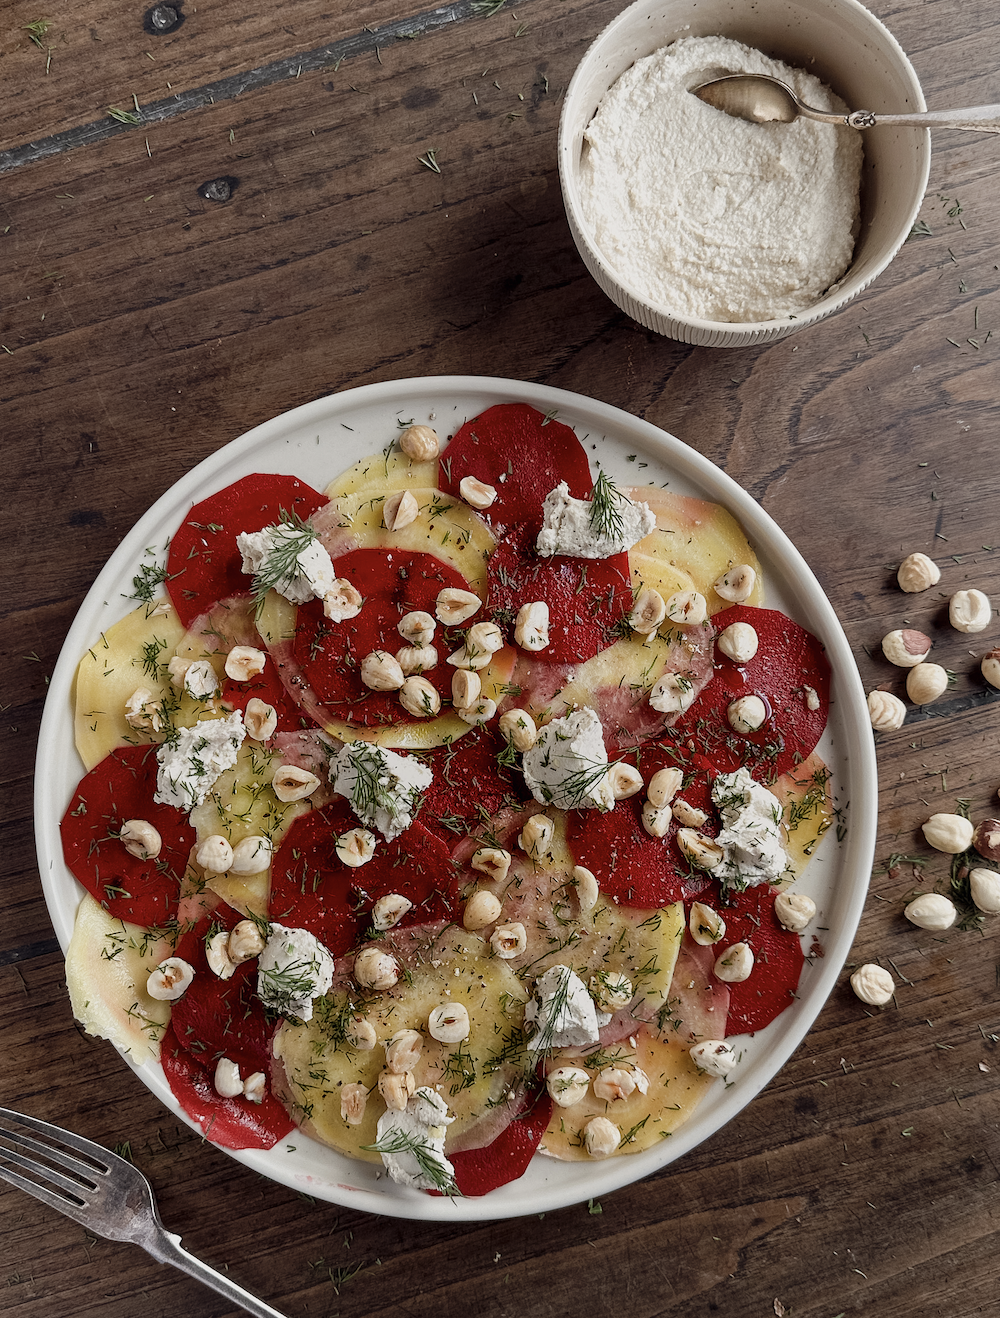
We've been getting some fabulous multi-colour beetroot recently from the nearby Castle Farm Organics which we've been putting to
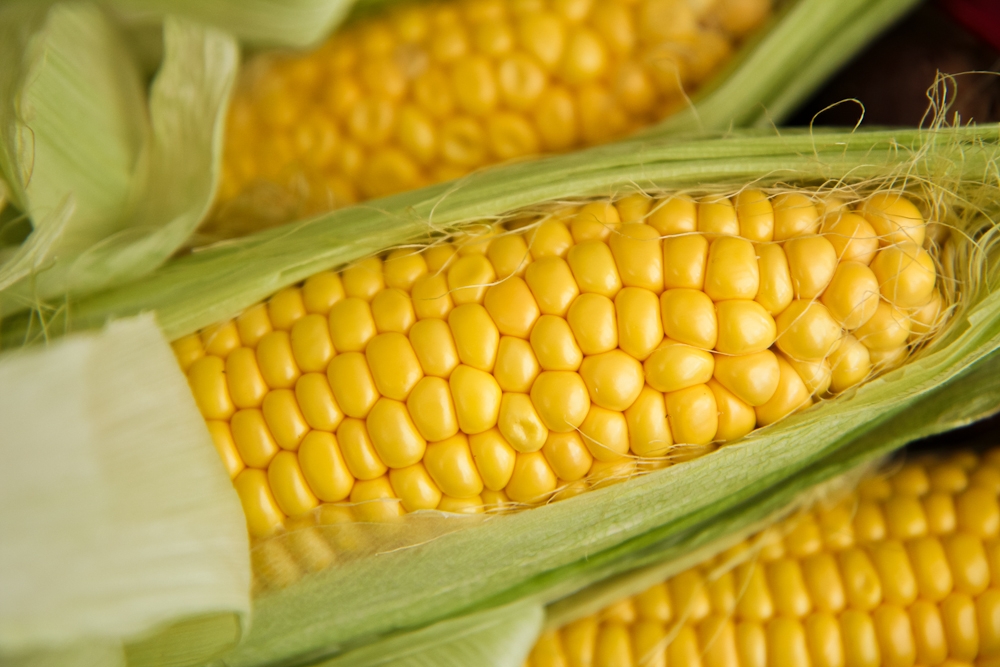
Eating sweetcorn is tinged with memories of tinned sweetcorn served as a vegetable for school diners, but really fresh